Tips & Information
Installing an Epoxy Microcement floor is a craft that demands precision. Curious about the process? Let us guide you through the 5 steps, from preparation to finishing. Each floor is unique and handcrafted, ensuring an exclusive look. Here’s how we work.
Our Process at IZU Concept
Have you chosen a new Epoxy Microcement floor? Amazing! Your interior is about to look stunning. But before you can enjoy it, there’s a careful process that takes an average of 5 working days. Thankfully, our skilled professionals know exactly what they’re doing. Here’s how we bring your floor to life:
Step 1: Leveling the subfloor
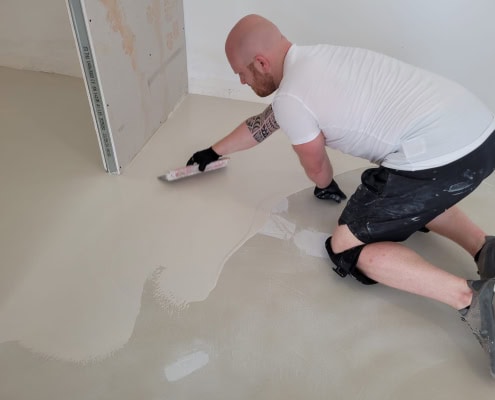
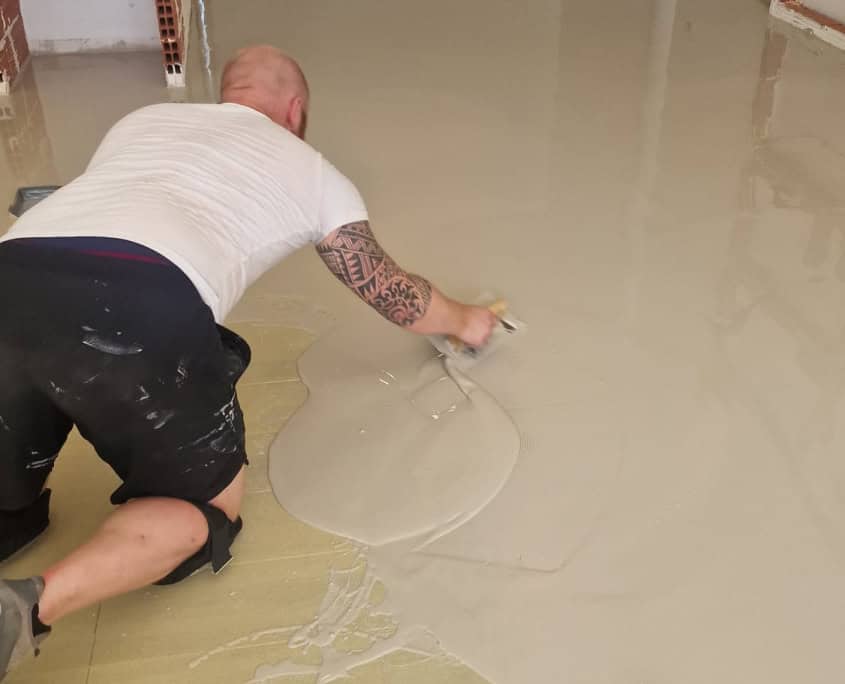
Before we begin with the Epoxy Microcement floor, we ensure the subfloor is perfectly smooth. This is essential for achieving a flawless final result. We apply a leveling layer, which we allow to dry before moving forward.
Day 1: Applying primer and base coat
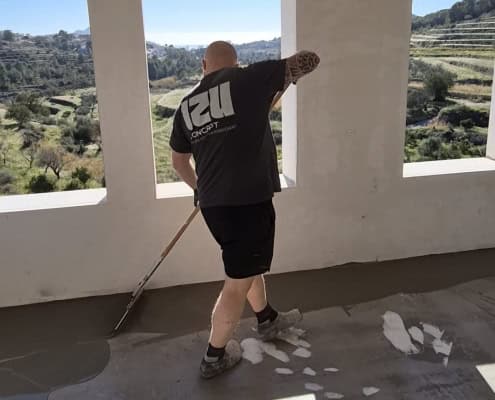
The first workday is all about laying the foundation. We apply a primer to the levelled surface and finish it with a base coat reinforced with fibres.
Day 2: Applying the first color layer
Now the floor starts to come to life with its first coat of color, such as Lavastone or Minimal. This gives you a preview of how the floor will look and sets the foundation for its final appearance.
Did you know our epoxy microcement is available in almost every color?
Day 3: Applying the second color layer
On the third day, we apply a second color layer. This enhances the intensity and depth of the color. It’s an exciting moment as your dream floor begins to take shape.
Day 4: Sanding and sealing
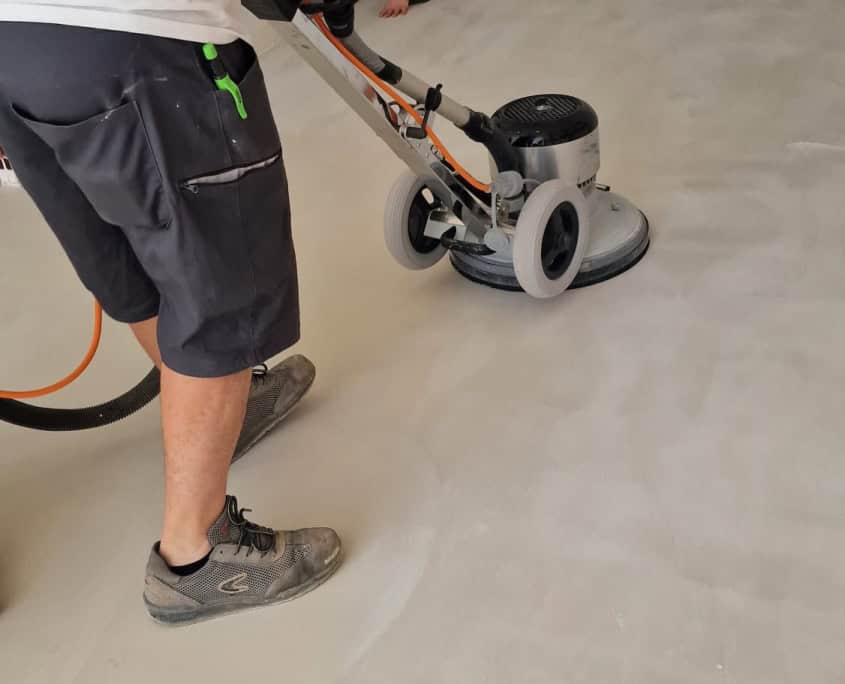
The floor is sanded to ensure a super-smooth finish. We then apply a durable topcoat that not only provides a beautiful finish but also protects the floor. Did you know our floors feature an antibacterial coating? This makes them extra hygienic!

